✅ Data Validation Criteria
📌 Overview
The AiCCESS application was built with AI-powered image quality checks to ensure consistently high image quality. Ensuring that subsequent analysis is conducted on a complete, consistent, and high-quality data set is critical to study success.
When you capture a scan, our software will automatically validate the image based on ten key criteria:
1. 🌞 Brightness
2. ⚫⚪ Contrast
3. 🏞️ Grain
4. 🔪 Sharpness
5. 💨 Motion Blur
6. 🌀 Gyroscopic Motion
7. 📏 Distance
8. 📐 Angle
9. 🎞️ Framing
10. 🧠 Confidence
This document describes each of these checks and what you can do to resolve them.
🛑 Fatal Rejection Criteria
These quality checks are assessed during capture and will not allow you to proceed to capture a mask unless they are resolved.
🌞 Brightness
Brightness refers to the overall amount of light in the picture. If your image is too dark, it will be difficult to clearly observe the wound.
You can fix this error by:
- 🔅🎚️ Adjusting the exposure slider during capture,
- 💡 Increasing room lighting,
- 🛋️ Moving to a brighter location, or
- 🔦 Shining a light at the wound.


⚫⚪ Contrast
Constrast measures the difference between the brightest and darkest pixels in the image. Images with low contrast make it difficult to discern wound details and boundaries. Oftentimes, images can appear "washed out".
You can fix this error by:
- 🔅🎚️ Using the contrast slider in the camera interface,
- 💡🔽 Reducing lighting, or
- ↔️ Moving away from the light source (so that the light is more diffuse).
🏞️ Grain
Grain refers to a low image quality characterized by a pixelated or "noisy" image. Grain is most commonly attributed to a camera attempting to digitally compensate for low lighting.
You can fix this error by:
- 💡 Increasing room lighting,
- 🛋️ Moving to a brighter location, or
- 🔦 Shining a light at the wound.
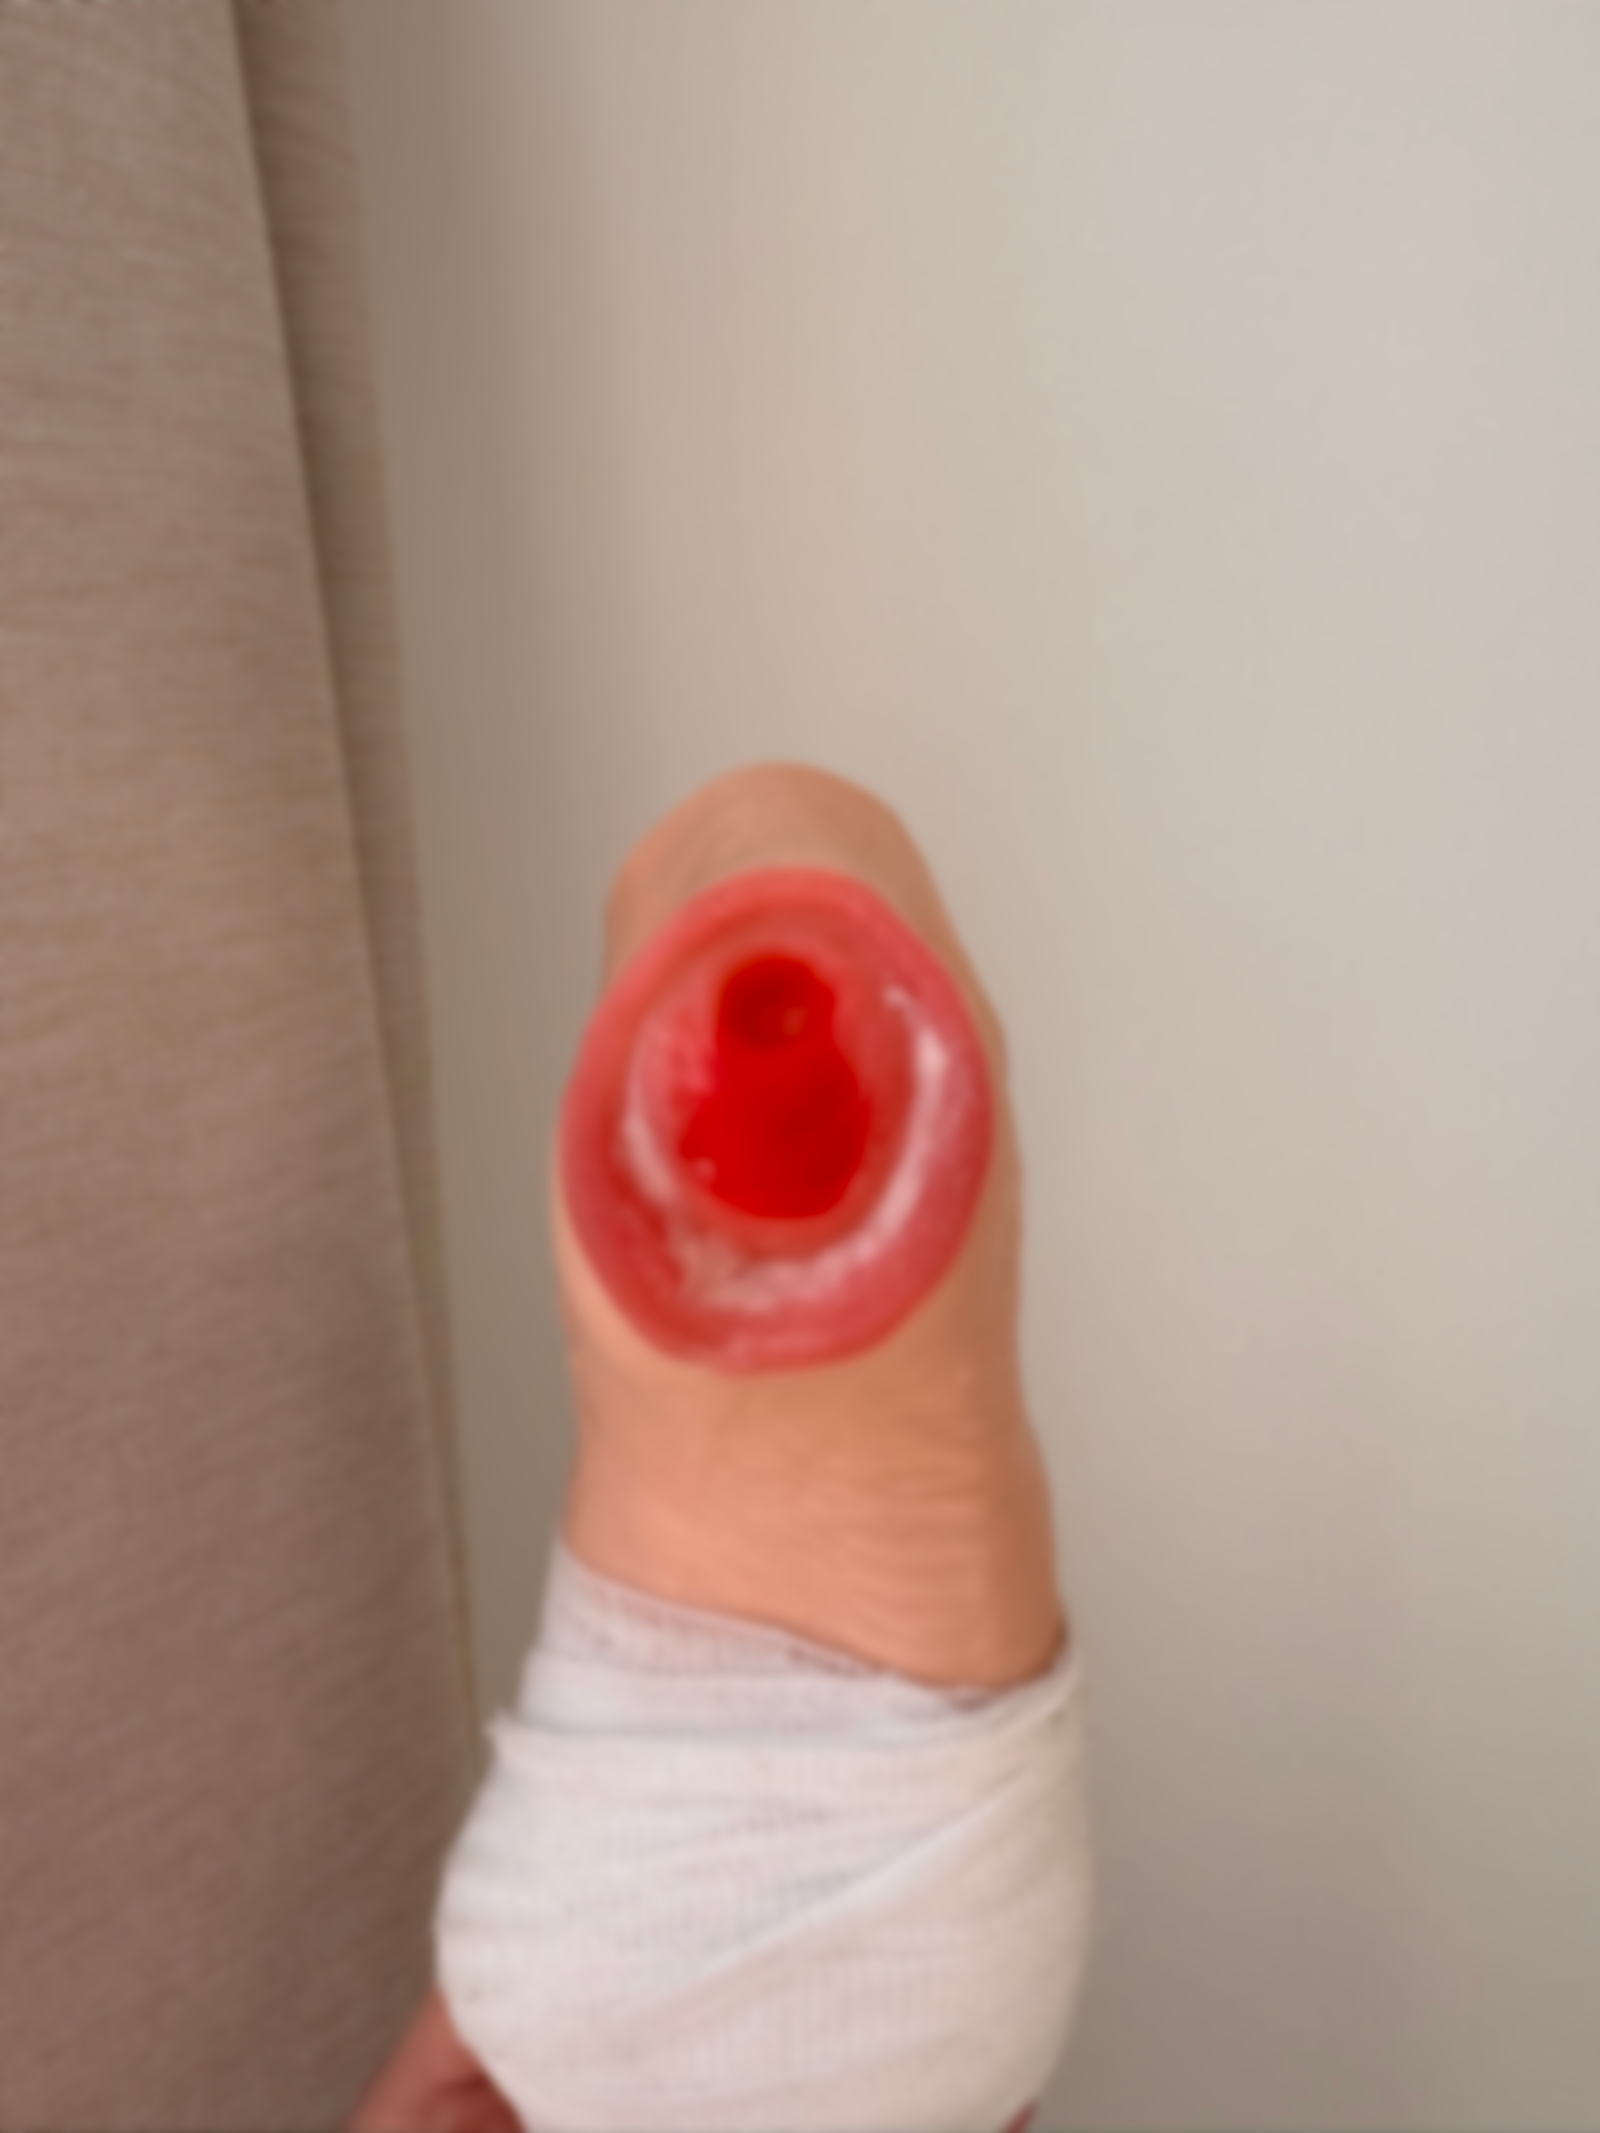
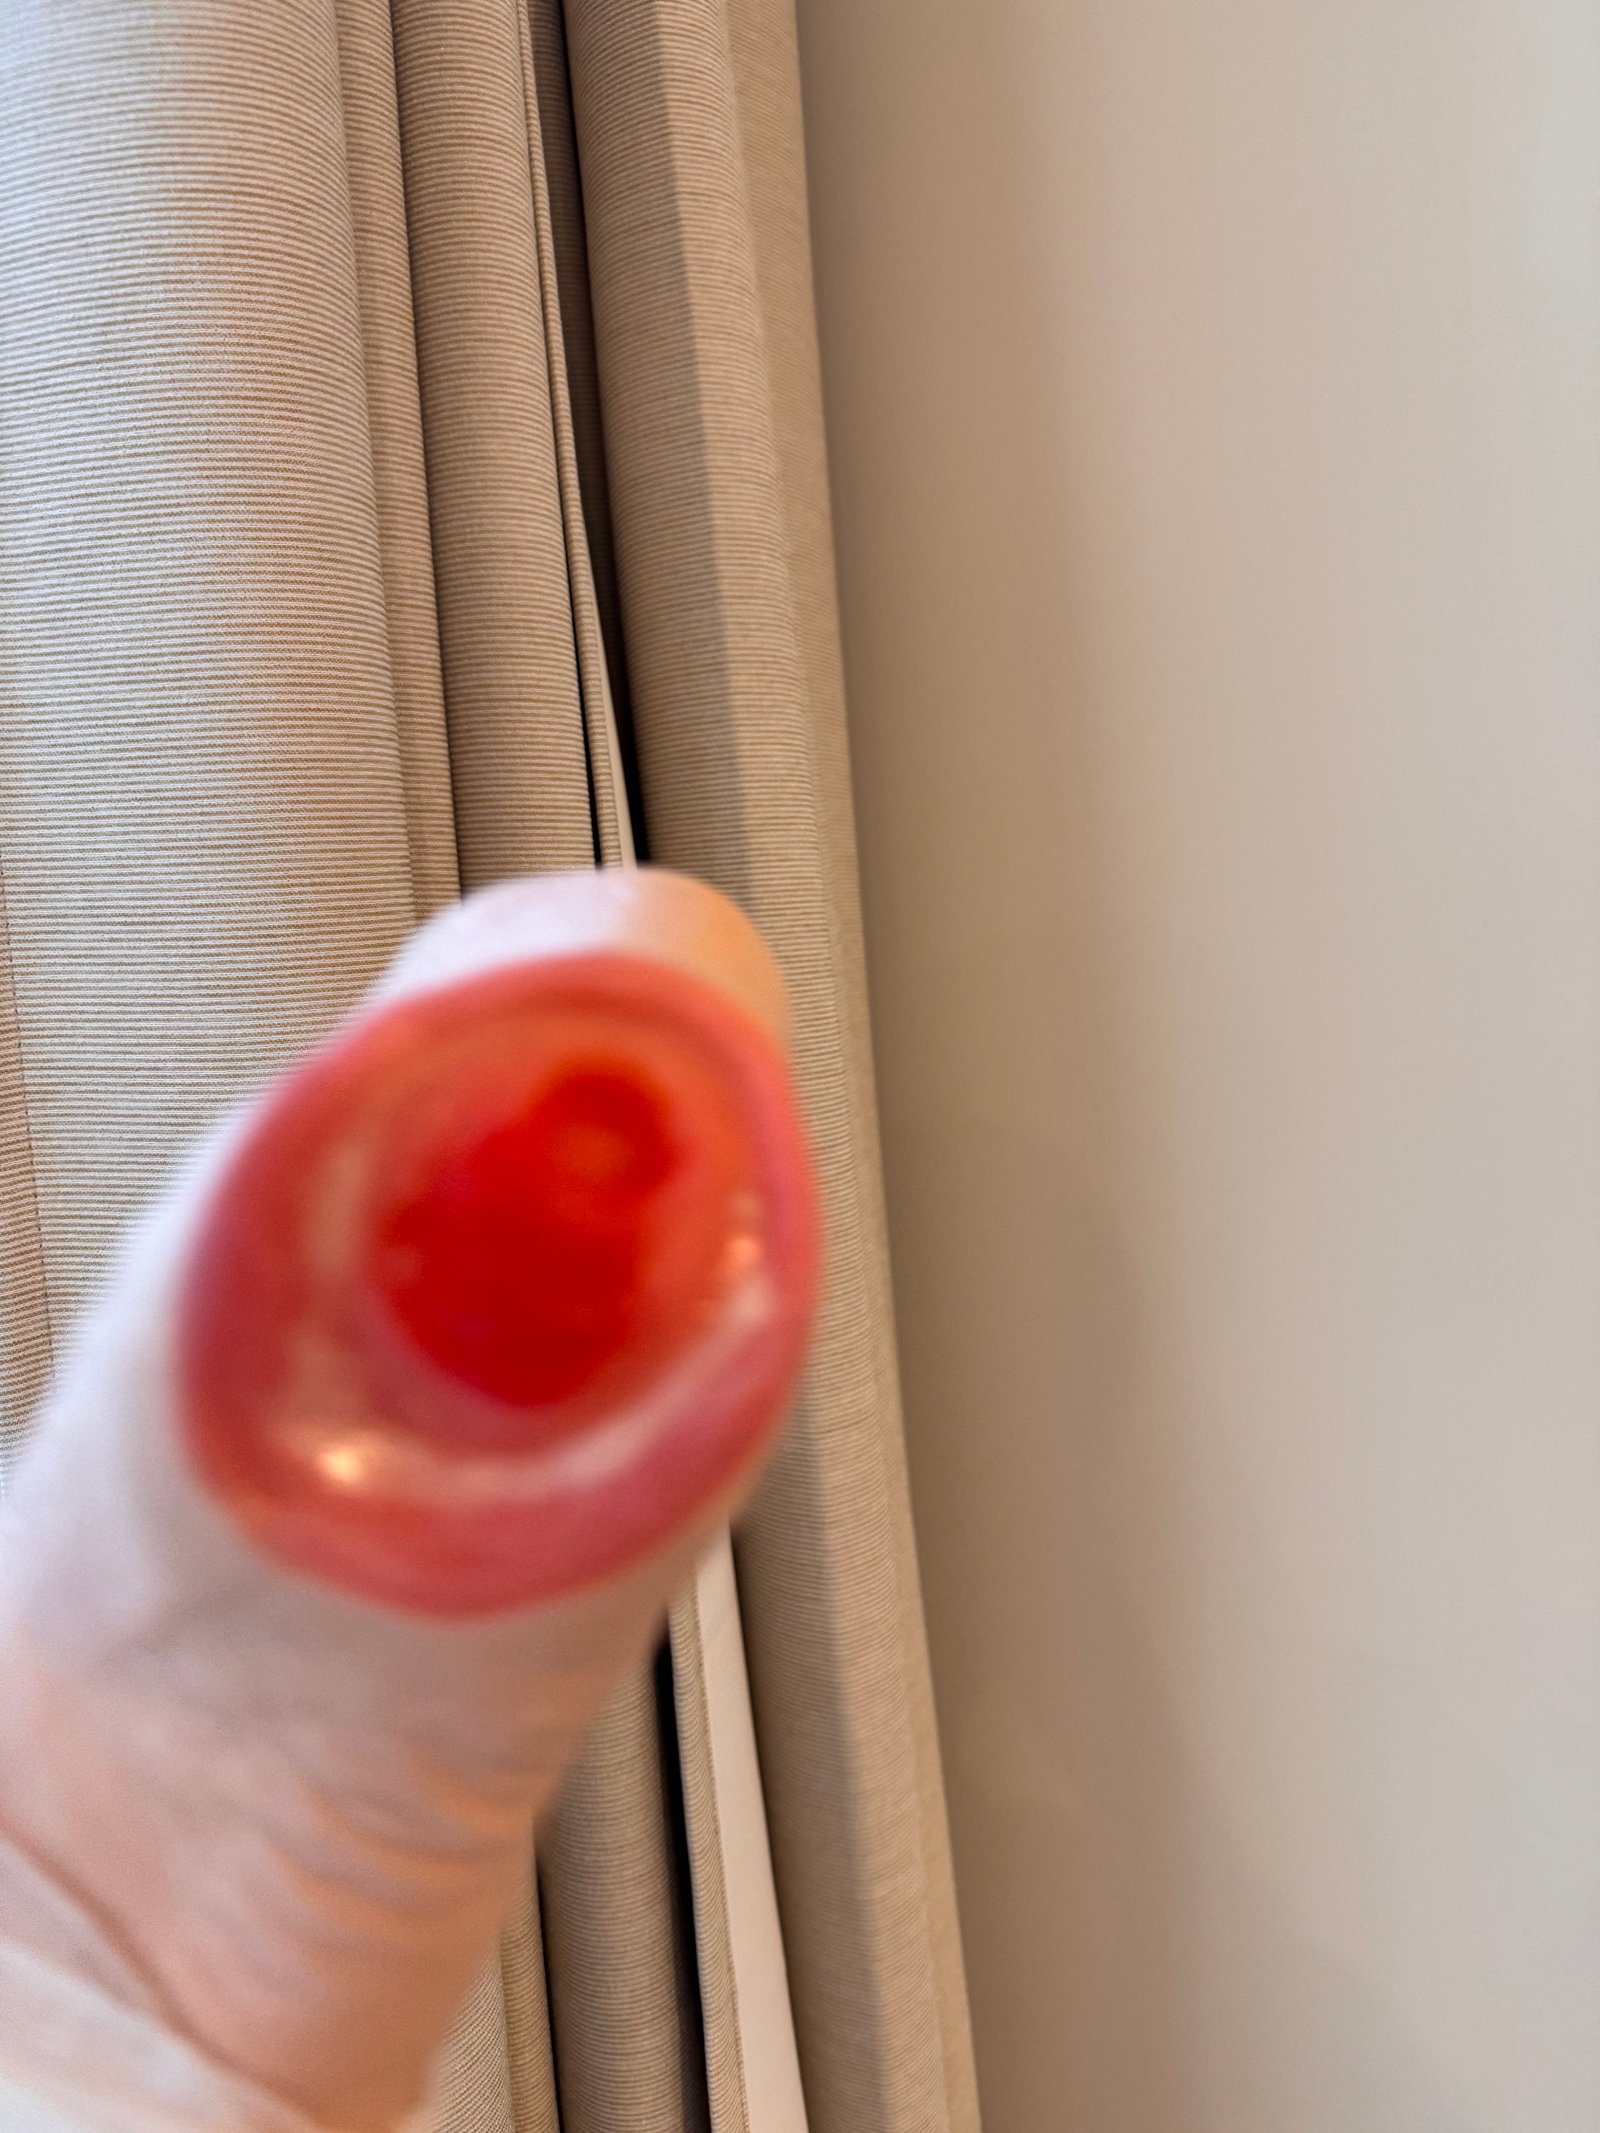
🔪 Sharpness
Sharpness refers to the overall clarity and definition of the image. An image that appears blurry or "soft" will fail this quality check.
Images can lack sharpness if the image is out of focus or if there the camera lens is obscured (e.g., by dust, dirt, or a fingerprint). To resolve this:
- 👁️ Use the camera's auto-focus feature by tapping on the wound in the camera interface.
- ✨ If auto-focus does not solve the problem, try wiping the lens clean.
- ↔️ You may also be too close to the wound for the camera to focus properly.
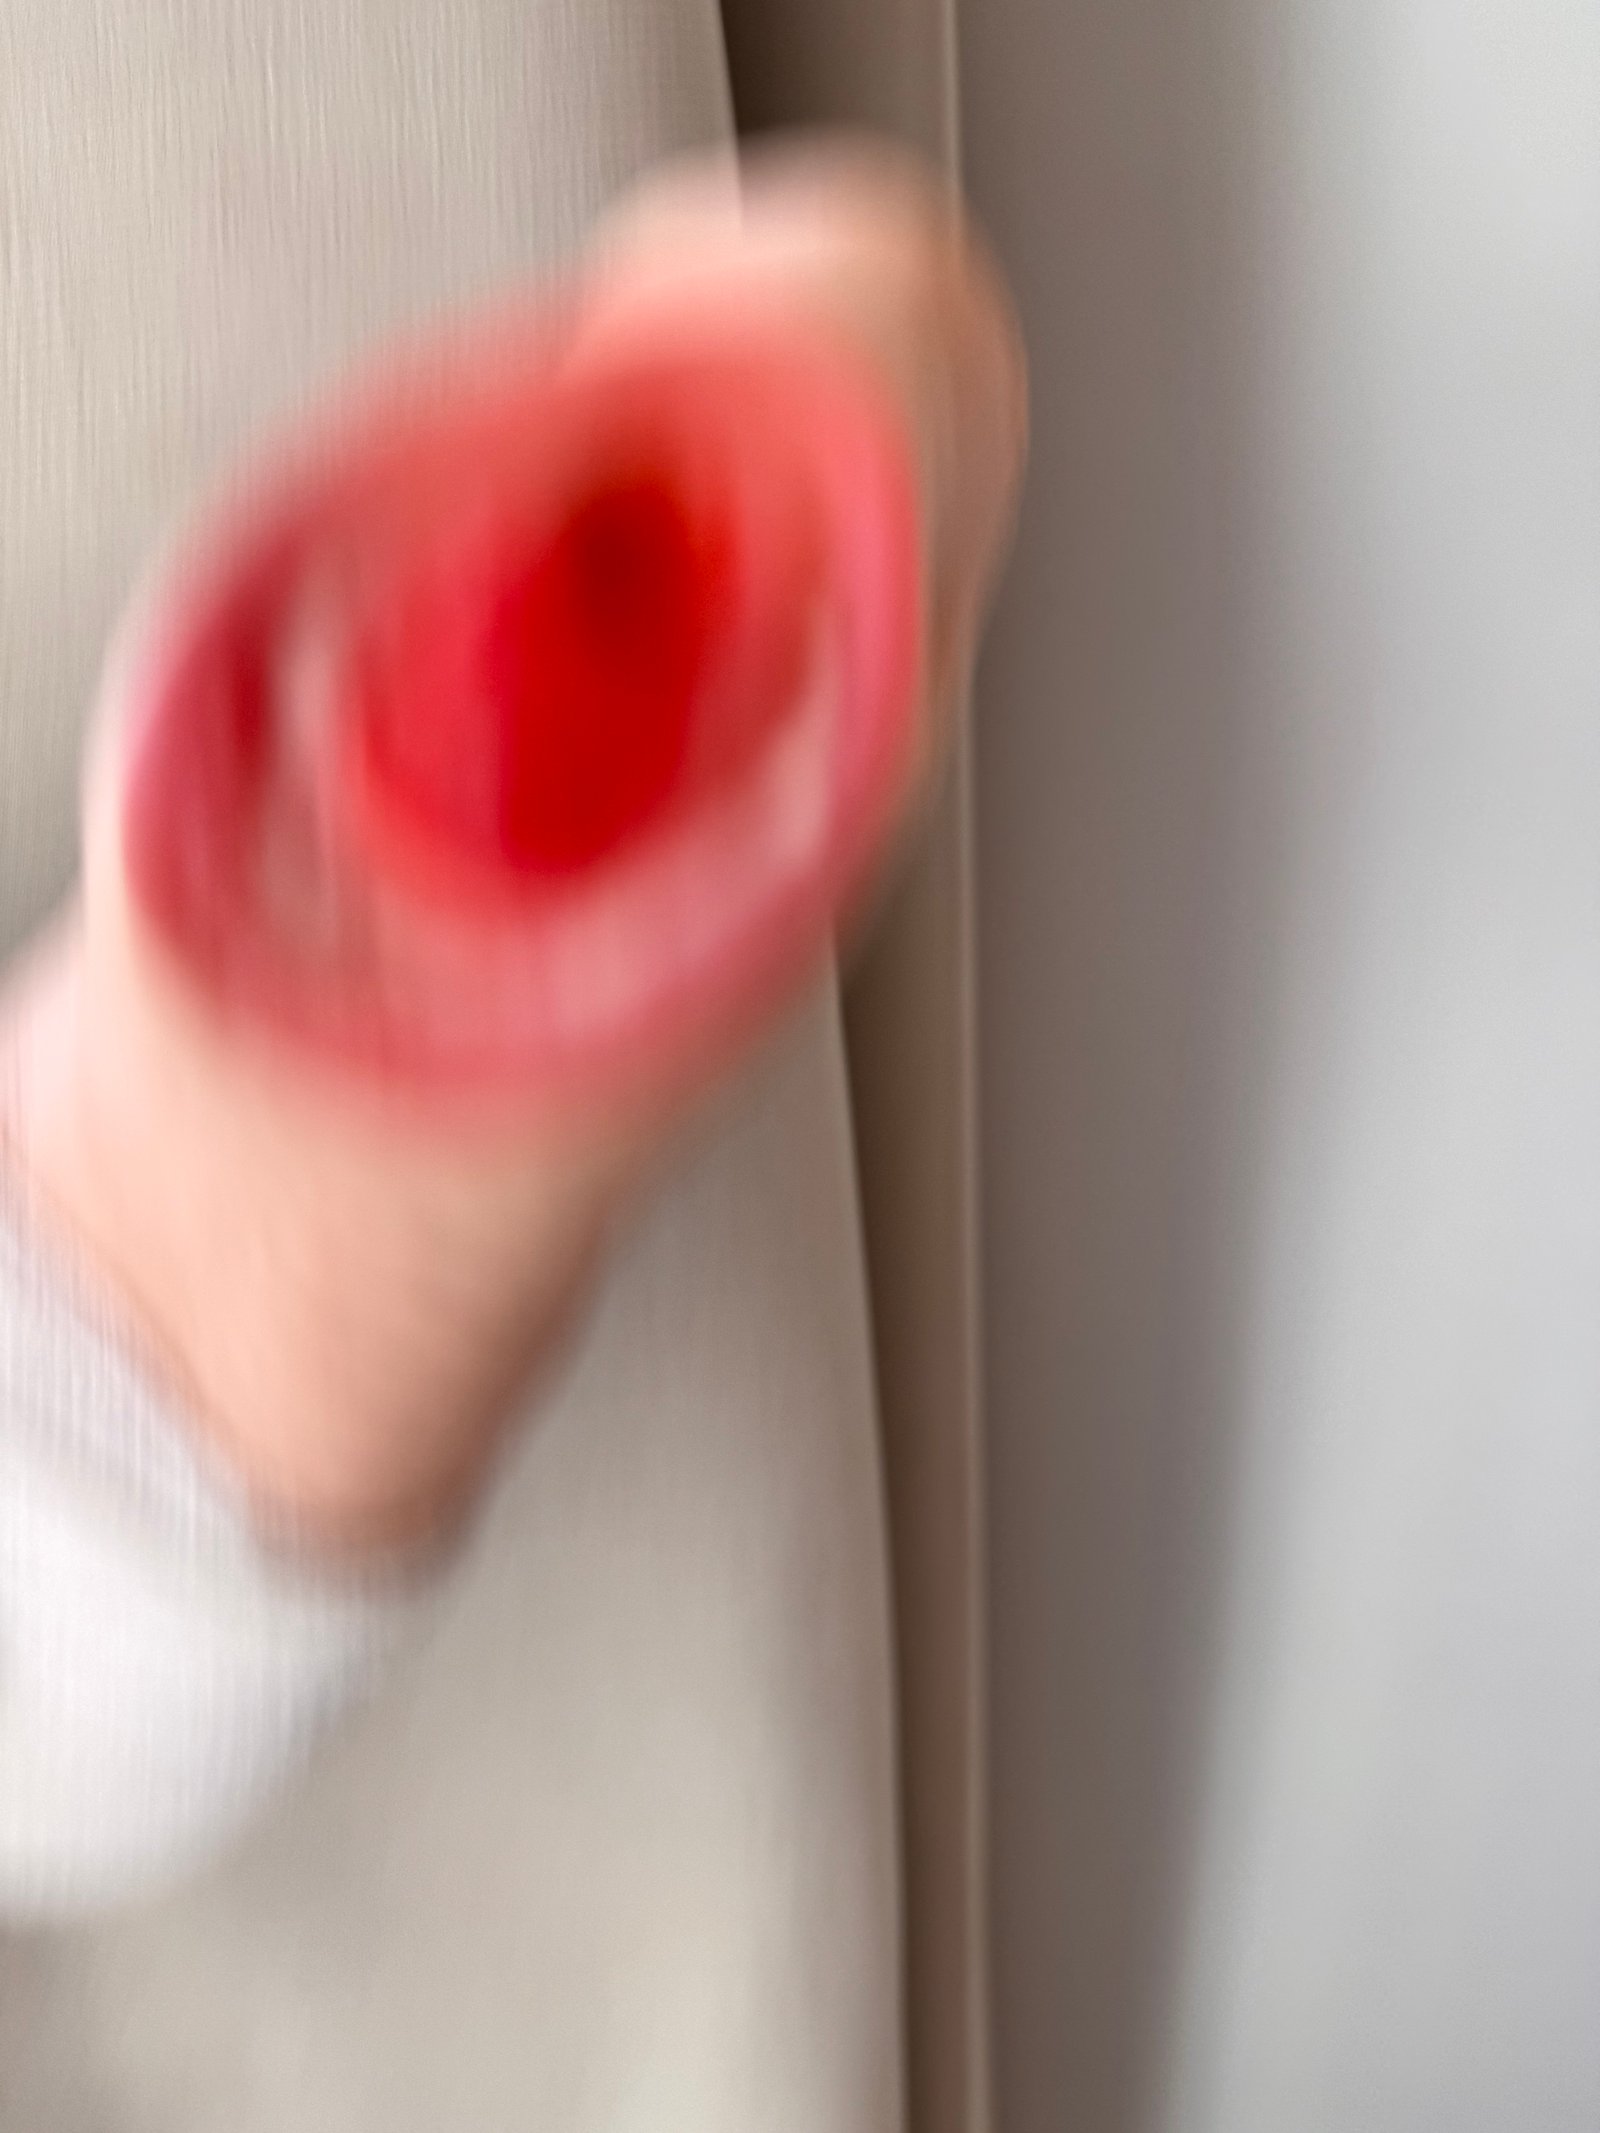
💨 Motion Blur
Motion blur refers to blur induced by a moving subject (i.e., the patient is moving while the image is being captured), resulting in a blurry foreground. The background of a photo flagged for motion blur may still be in focus.
To resolve this issue, ensure that your patient is remaining as still as possible.
💡Tip: It may be best if the patient is laying down or seated, where possible.
🌀 Gyroscopic Motion
Similar to motion blur, gyroscopic motion refers to motion detected in the camera during image capture. Note that both the foreground and background of the image is blurry when gyroscopic motion is detected. To resolve this issue, ensure that your camera is as still as possible during image capture.
💡Tip: It may be helpful to rest your arm on a table or other surface, where possible.
⚠️ Data Quality Warnings
These data quality checks are validated after the scan is captured and warns you that the scan may have a quality concern. We generally recommend recapturing the scan to ensure optimal image quality is captured. If, however, you review the image and determine the image is of sufficient quality and are unable to overcome these errors, you can manually override these warnings and proceed to save the scan.
📏 Distance
For optimal capture, the phone camera should be 8 to 18 inches from the wound to ensure consistent post-processing.
If you encounter a distance error, you are most likely attempting to capture the image from too far away. Try capturing the scan again closer to the wound.
ℹ️ Note: We generally recommend scanning at the minimum distance to capture the wound in its entirety, without zoom.
📐 Angle
For optimal capture, images should be captured normal to the wound, such that the camera is pointed directly at the wound, not from an angle. Our software will automatically reject any image that is captured more than 15 degrees off-normal, as any further angles can distort the image and result in flawed analysis for the study.
If you encounter an angle error, you are most likely attempting to capture the wound outside of this specified angle tolerance. Try capturing the scan from a more direct angle.
💡Tip: If you are capturing the wound from an angle in order to capture the entire wound, we recommend moving slightly away from the wound (but within the distance tolerance) and capturing the image from a normal angle.
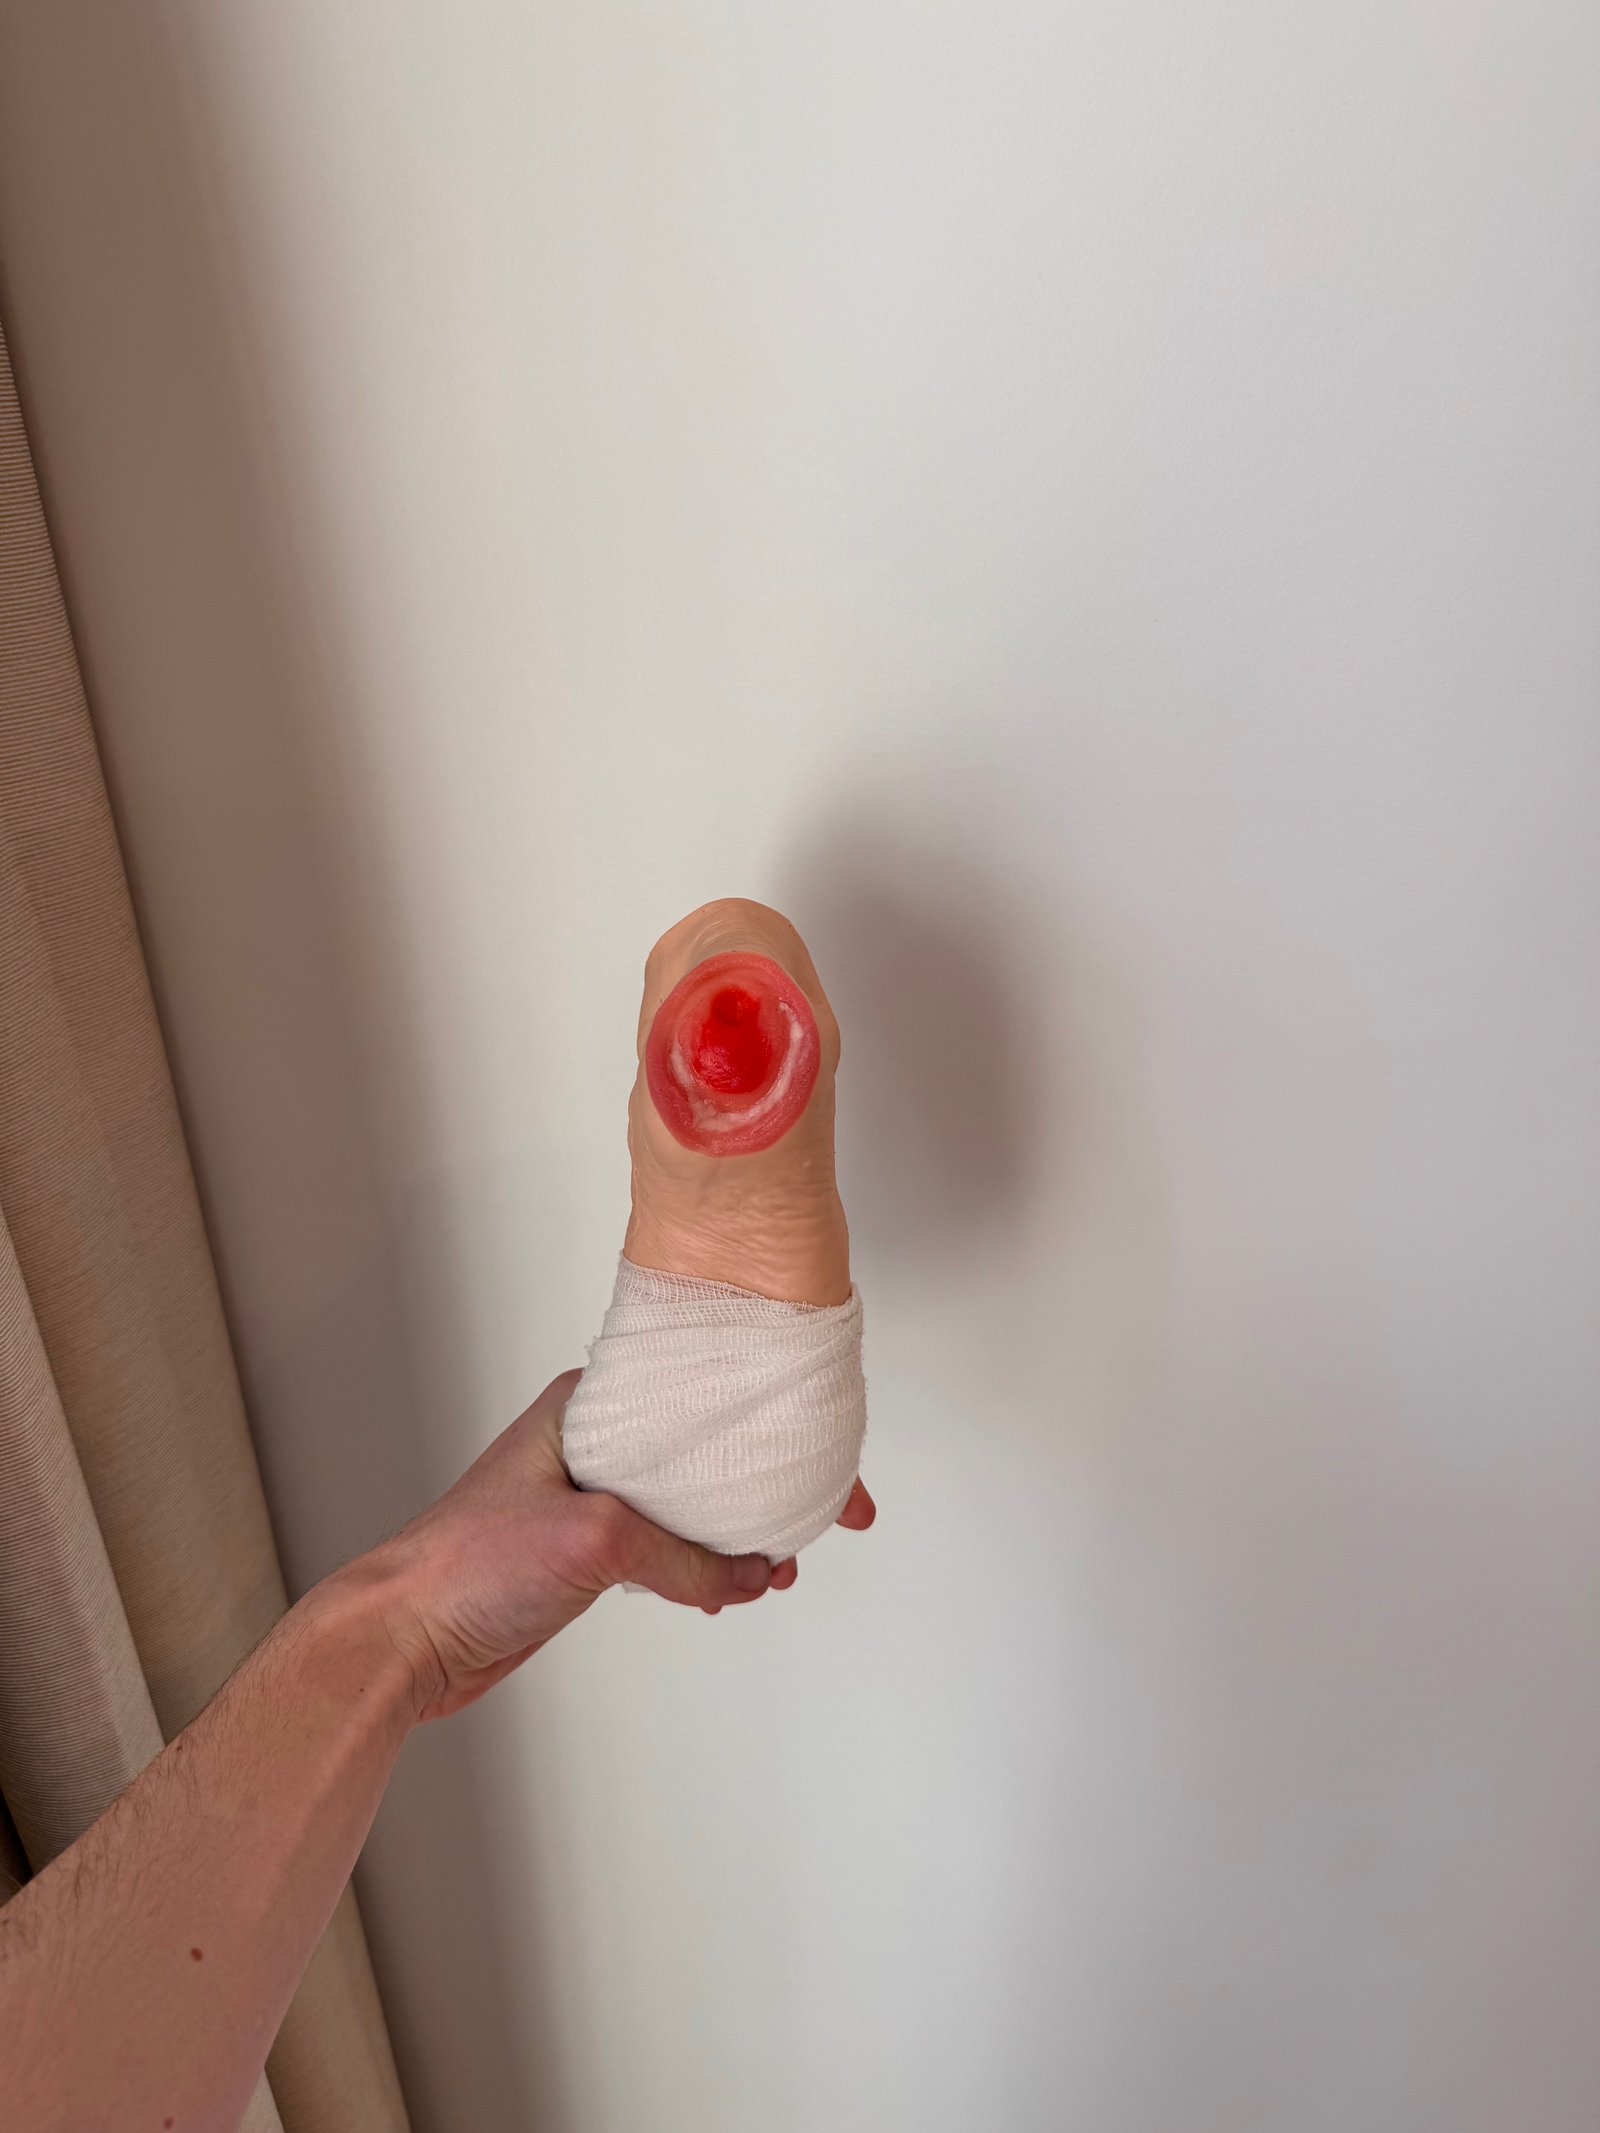
🎞️ Framing
Framing refers to the relative size and position of the subject in the overall image. Optimally, the wound should be at the center of the frame, be fully visible, and have a small amount of unaffected area visible.
🎯 Center the Wound: If you encounter this error, you will need to adjust the position of your camera in order to center the wound in frame at an appropriate distance.
🧠 Confidence
ℹ️ Note: This error is commonly related to other issues, like brightness, contrast, motion blur, or grain and sharpness.
Our image capture process uses computer vision AI to enhance images and ensure that the overall image is high-quality. Low confidence generally means that the image lacks sufficient clear pixels to effectively produce a clear image. In other words, the AI is "guessing" at too many image values to be confident in the data produced.
💡Tip: The most effective way to resolve this error is to ensure that all other image parameters are captured as optimally as possible in a well-lit environment, at the correct distance and angle, and with as little motion as possible.
❓ Need Help?
If you have tried the above fixes and are still receiving an error, please contact support@wound3.com or submit a support ticket and one of our agents will assist you.